All the turbo parts, in STL.
The cold-side housing, hot-side housing, core, wheels, shaft and assembly components — for you to slice and print.
YOUR NEXT 3D PRINTING PROJECT
Print the parts. Build the mechanism.
Turn it by hand and see it all move.
A detailed turbo model you assemble yourself — with a complete version, an open cutaway, and an illustrated guide that takes you from loose parts to your finished build.
Digital STL files for a display model. Not a working vehicle turbocharger.
Watch the printed model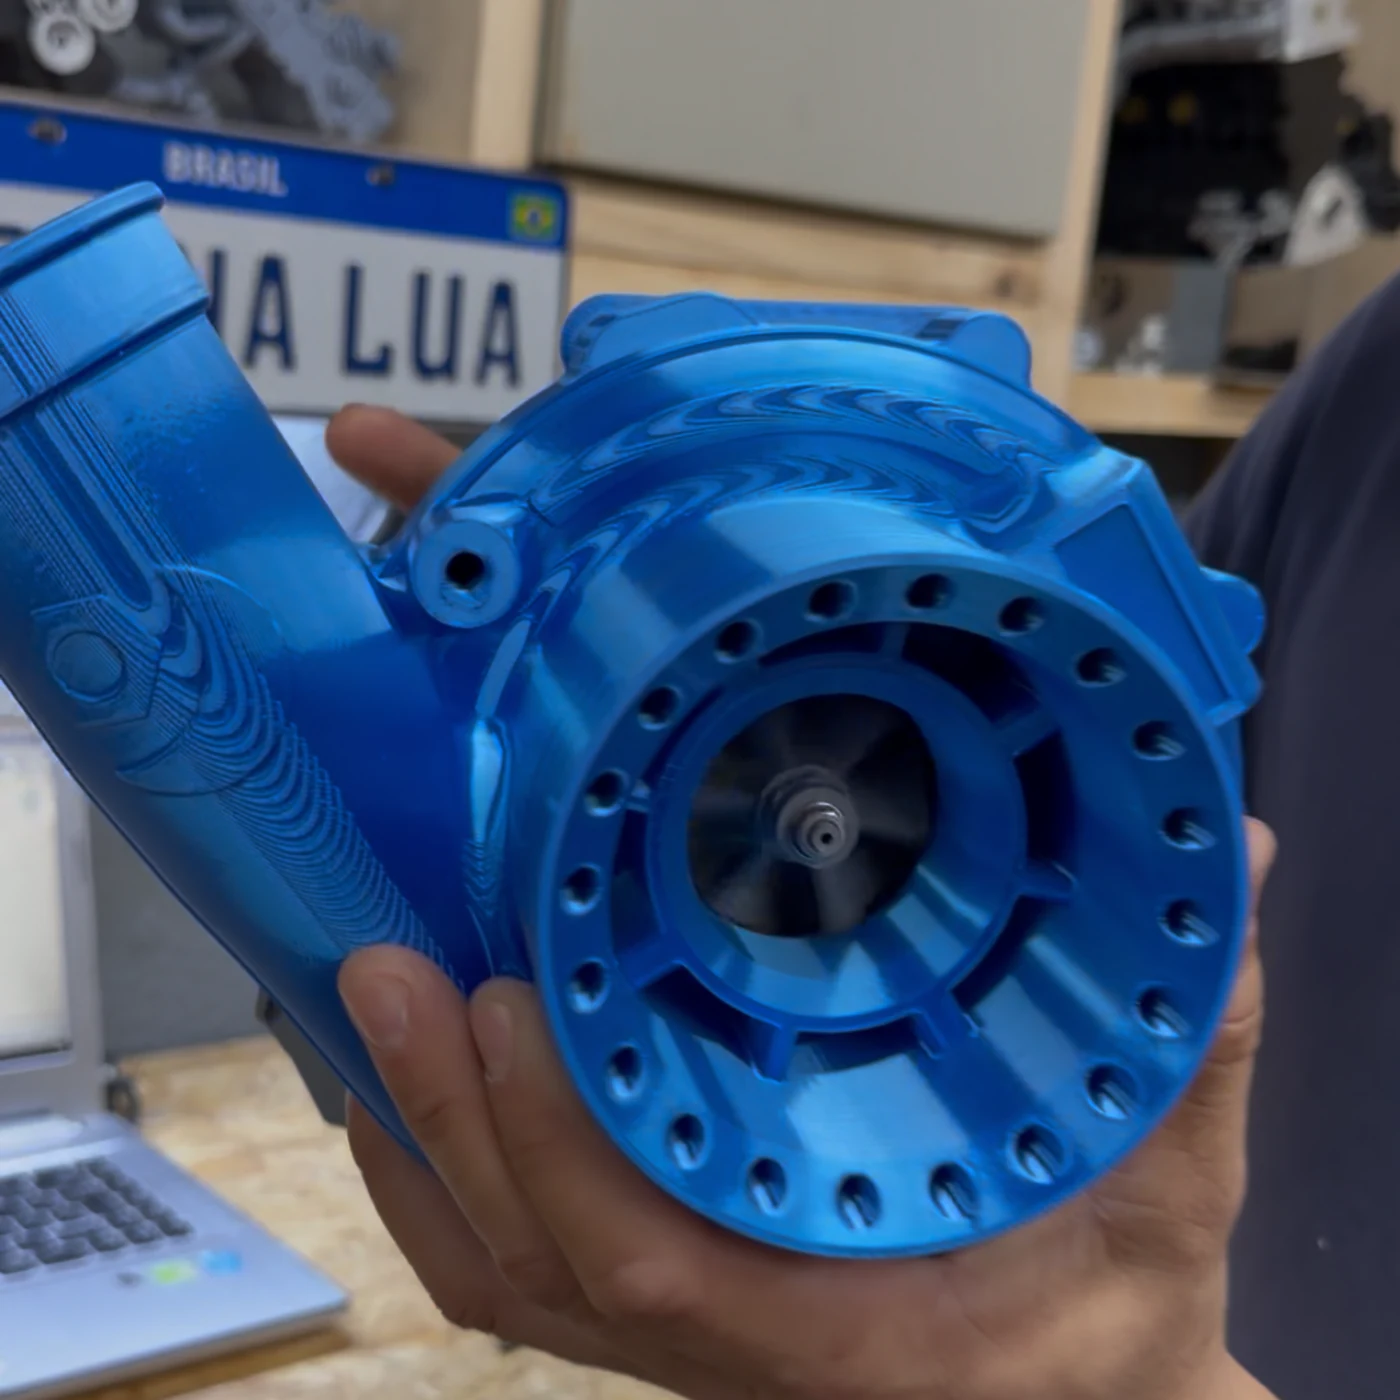 ALSO INCLUDEDThe complete version
WHAT YOU'RE GETTING
Download the designs. Print the individual components. Follow the manual and assemble your own turbo model with hardware you source locally.
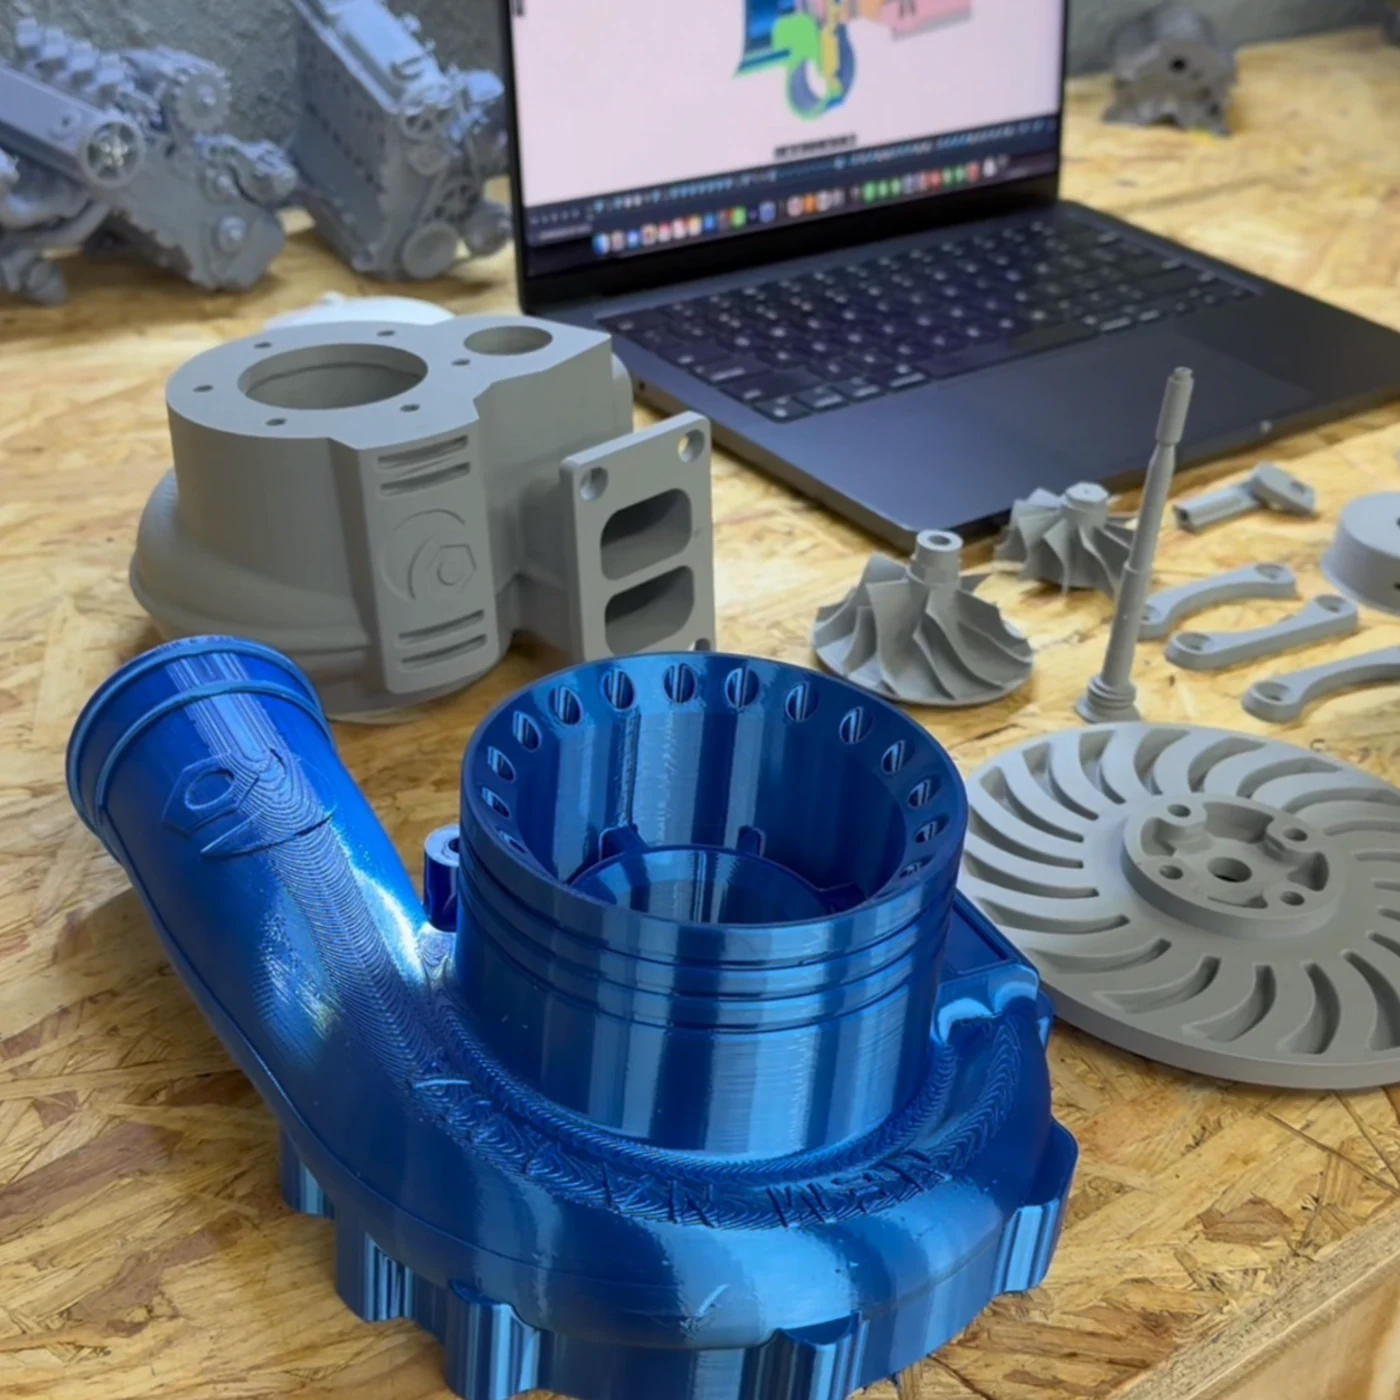 YOUR PRINTS BECOME THIS BUILD
The cold-side housing, hot-side housing, core, wheels, shaft and assembly components — for you to slice and print.
Get the complete model and the quarter-cutaway model in separate file folders. Choose which to build first.
Three PDF manuals are included — in English, Spanish and Portuguese. Follow the same project in your preferred language, with part identification, illustrated assembly instructions and a detailed hardware list.
Make a model for yourself or sell your finished physical prints. Redistribution of the digital files is prohibited.
WATCH THE PRINTED MODEL COME TOGETHER
These are the actual parts and models from our workshop. Explore the details before you start your own build.
ENGINEERED INSIDE AND OUT
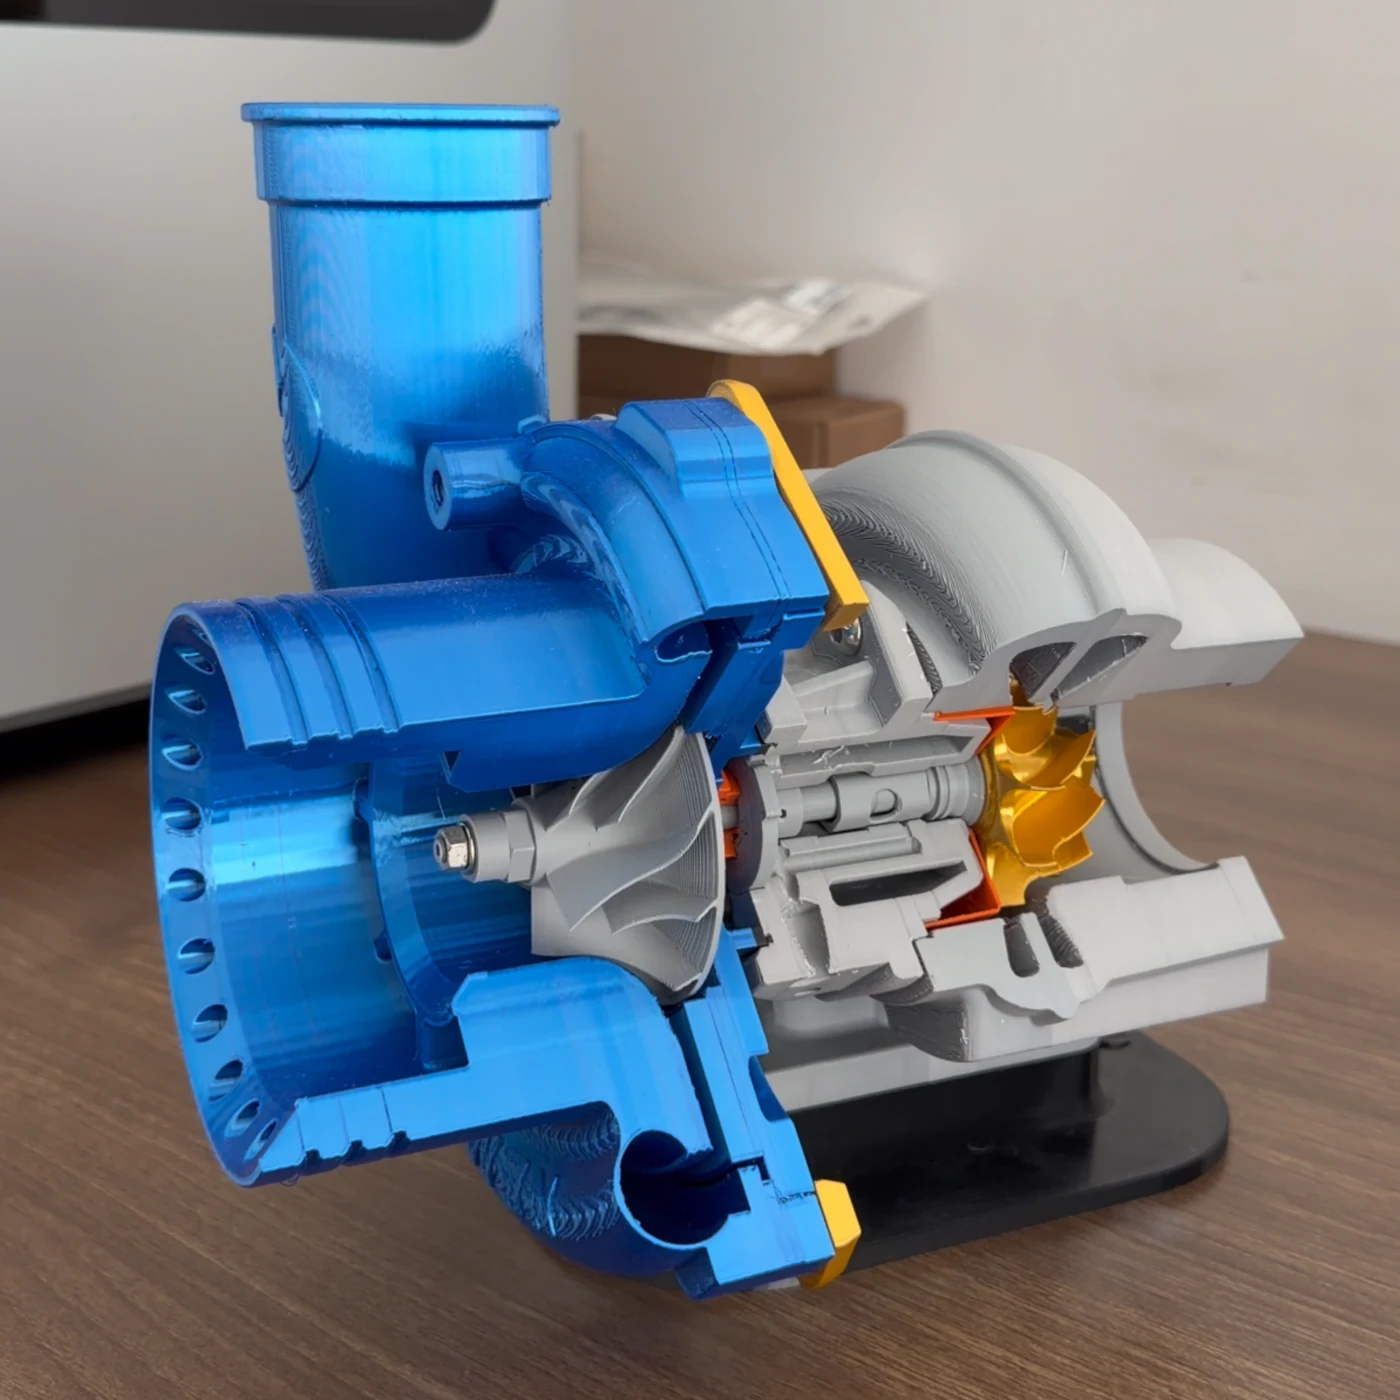
The cutaway exposes the components hidden by the complete housing. Turn the wheel by hand to explore how the rotating parts connect.
 SELECT A NUMBER TO EXPLORE
A manually operated display and learning model. Not a functional turbocharger for a vehicle.
NO NEED TO CHOOSE AT CHECKOUT
Both versions include the internal components. The difference is what you can see once you've put them together.
01 / COMPLETEThe full outer housings, individually printed details and internal assembly. Build the finished turbo shape for your desk, workshop or display shelf.
02 / QUARTER CUTAWAYA quarter of the housing is opened up so the wheels, shaft and core stay visible. A hands-on way to explore the mechanism and share your interest in engines.
Build one. Build both. The files for both versions are included.
Get the complete kit $16.99YOU WON'T BE ASSEMBLING FROM GUESSWORK
Choose the included manual in English, Spanish or Portuguese and follow the illustrated sequence. See where each printed part belongs and which hardware to use. The previews below are from the 31-page English edition.
Start with the component identification and the list of screws, washers and nuts.
From joining the shaft and wheel to fitting the housings and retainers, the guide follows the assembly in order.
Guidance on hand tightening and finishing printed threads helps you approach the build carefully.
You can also purchase our Turbo STL kit there. Choose the store you feel most comfortable with.
Buy on Cults3D Cults3D pricing and checkout terms apply.KNOW THE BUILD BEFORE YOU BUY
Here's what to check so you can start with the right setup. This is a multi-part print-and-assemble project.
You need a print bed of at least 220 × 220 mm. Keep the supplied scale so the components match the listed hardware.
Check usable print area, available height and part placement in your slicer before printing. A standard Bambu Lab A1 is suitable; an A1 mini is too small at the supplied scale.
This is your hands-on printing challenge. You position and orient the parts on the build plate, choose supports and settings, and run any tests needed for your own printer and filament. We recommend PLA.
Allow approximately 850 g of filament per model, depending on your settings. Use your slicer to estimate material use and print time for your own build.
You'll need the listed screws, nuts and washers, plus suitable hand tools. Follow the guide for assembling the parts and finishing printed threads.
Tighten gently and follow the assembly order. Recommended for ages 12+ with appropriate supervision for tools.
| Hardware | Size | Quantity | Length measured as |
|---|---|---|---|
| Allen flat-head screw | M6 × 10 mm | 8 | Total length |
| Allen flat-head screw | M6 × 20 mm | 4 | Total length |
| Allen button-head screw | M6 × 15 mm | 4 | Thread length |
| Allen button-head screw | M6 × 10 mm | 2 | Thread length |
| Hex-head screw | M5 × 30 mm | 1 | Thread length |
| Hex-head screw | M8 × 35 mm | 4 | Thread length |
| Flat washer | M8 | 4 | — |
| Nut | M8 | 4 | — |
| Nut | M5 | 1 | — |
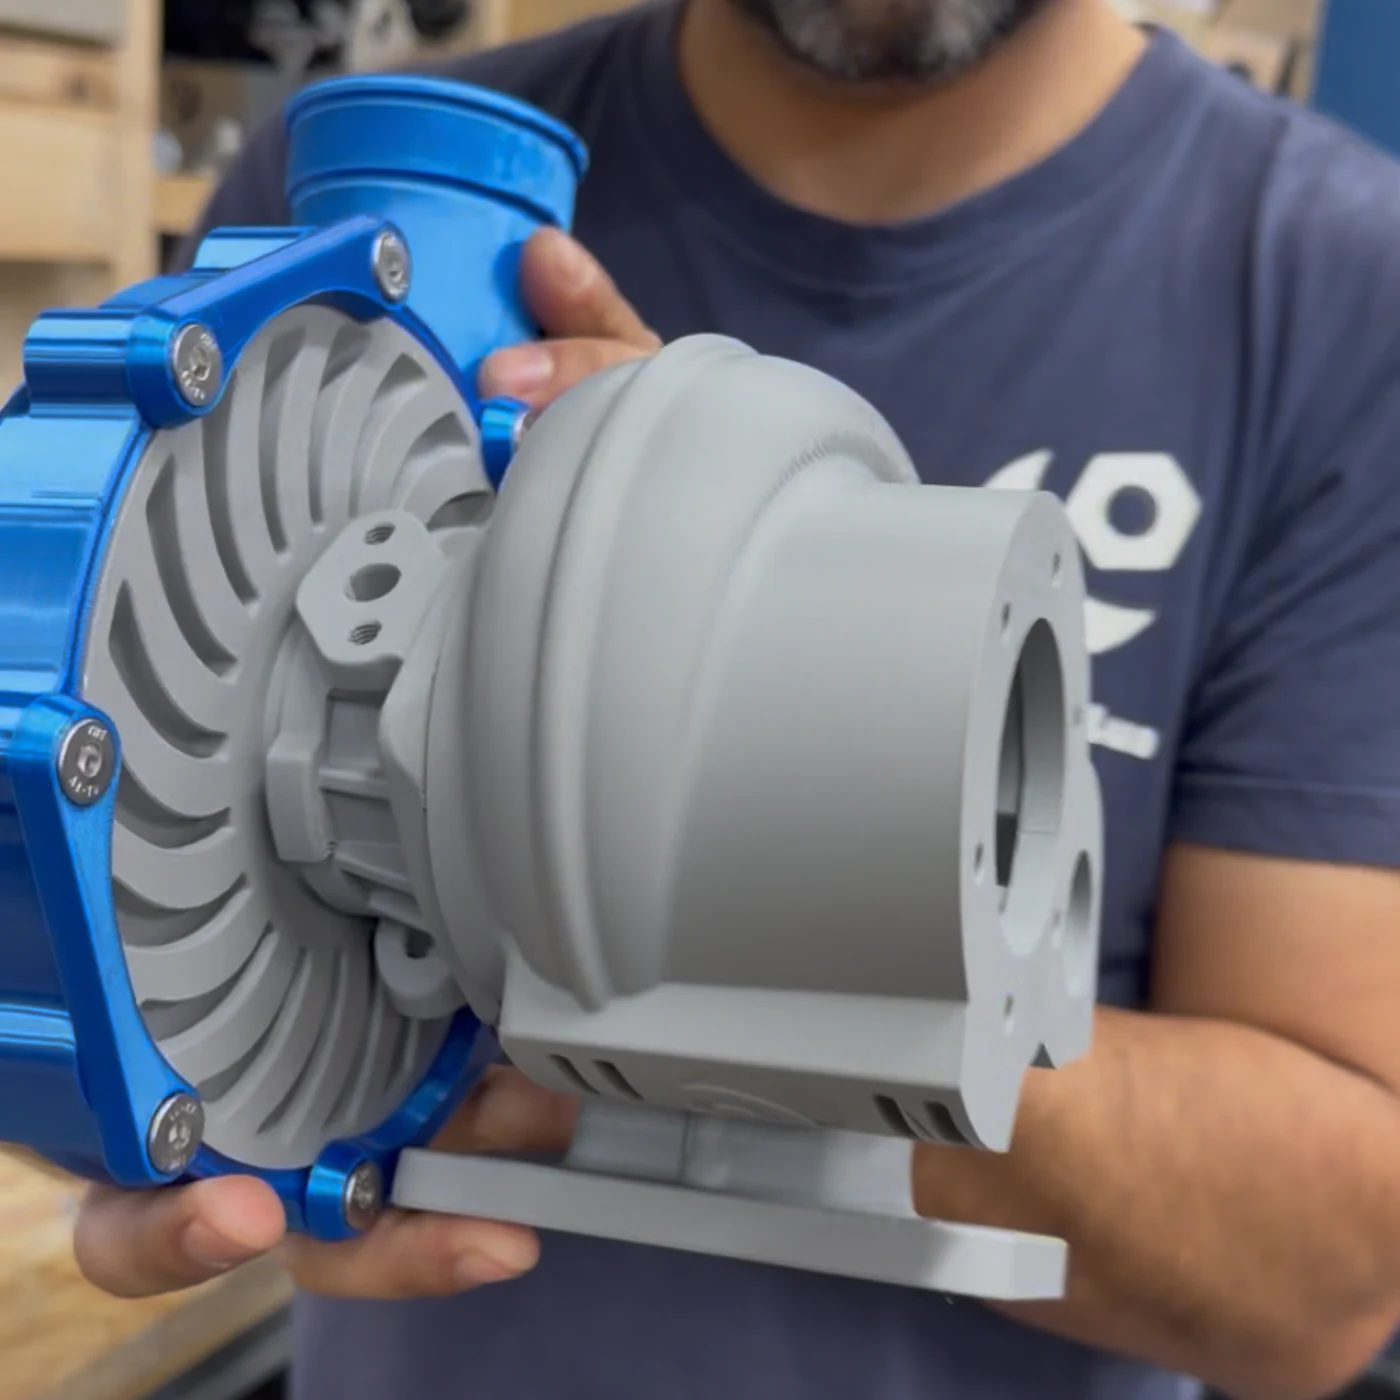
PHYSICAL-PRINT SELLING RIGHTS INCLUDED
Keep it, display it, give a finished model as a gift, or sell the physical turbos you print. Permission to sell your physical prints is part of this purchase.
The finished physical parts you produce may be sold.
Sharing, reselling, uploading, giving away or otherwise passing on the STL files is prohibited. The design remains the property of NEM NA LUA.
Permission to sell physical prints does not include permission to distribute the digital files.
FROM AN AUTOMOTIVE DESIGN WORKSHOP
We develop automotive projects, model their components and bring them into the physical world through 3D printing. This kit puts one of those projects on your workbench — with the actual printed build and assembly guide shown throughout this page.
Follow NEM NA LUA for upcoming 3D-printing projects, new releases and a look behind the scenes in our workshop.
MAKE ROOM FOR YOUR NEXT BUILD
Two detailed turbo models, illustrated manuals in three languages, and the satisfaction of printing and assembling the parts yourself.
Buy the digital kitComplete your payment through Gumroad.
Get your filesEnter your email at checkout to receive your download link. You can also access the files after payment.
Start your buildOpen the files on your computer, slice your parts and follow the guide.
COMPLETE + CUTAWAYEnter your email at checkout so we can send you the download link.
Payment handled by Gumroad · Digital delivery
Digital files only. No physical product shipped.
Printer, filament, hardware and tools are not included. Applicable taxes, if any, are shown at checkout. Digital file sharing and resale are prohibited.
BEFORE YOU START
Have a specific question about the project?
Talk to us on Instagram.
A digital download. You receive STL files to print the turbo parts, plus three PDF assembly manuals in English, Spanish and Portuguese. The printed turbos in the images and videos show what you can build; no physical item is shipped.
The complete version has the full outer housings. The quarter-cutaway version opens up a section so you can see the wheels, shaft and core inside. Both versions include internal components and are included in the same purchase.
You can turn the wheel by hand and demonstrate the connected rotating parts. This is a mechanical display and learning model. It is not designed to operate as an engine turbocharger.
Use a printer with a minimum 220 × 220 mm print bed. Check its usable print area, height and the placement of individual parts in your slicer. A standard Bambu Lab A1 is suitable; an A1 mini is too small at the original scale. We recommend PLA. You choose and test the orientation, supports and printing settings for your own machine and filament.
The turbo is made from separate parts. You can use different filament colors for different components; the colors shown are examples of our builds. The STL format contains geometry rather than the blue, gray and gold appearance shown in the photos.
The manual recommends keeping the supplied scale. Resizing also changes hole sizes, thread geometry and the fit with the listed screws and hardware. The supplied assembly instructions are based on the original scale.
No. You print the components separately and assemble them following the manual. The build uses screws, nuts and washers. Follow the illustrated assembly sequence.
Estimated filament use is approximately 850 g per model. The actual amount and printing time depend on your printer, material, layer height, infill, supports and other settings. We recommend PLA; use your slicer's estimates for your own setup.
Yes. Gumroad provides download access after payment and sends a link to your email. Open that link on your computer when you're ready to download and prepare the parts for printing.
You may sell the physical models you print. You may not share, resell, upload, give away or otherwise transfer the STL files to other people.
Your download includes three assembly manuals: English, Spanish and Portuguese. The English edition shown in the previews has 31 pages and 24 illustrated assembly steps. Choose the language you prefer and follow the guide.
YOUR PRINTER'S NEXT PROJECT?
YOU'RE LOOKING AT IT.